Firstyl, create a new field in EasyBadge, just navigate to:
Menu > Modify Database > Add field:

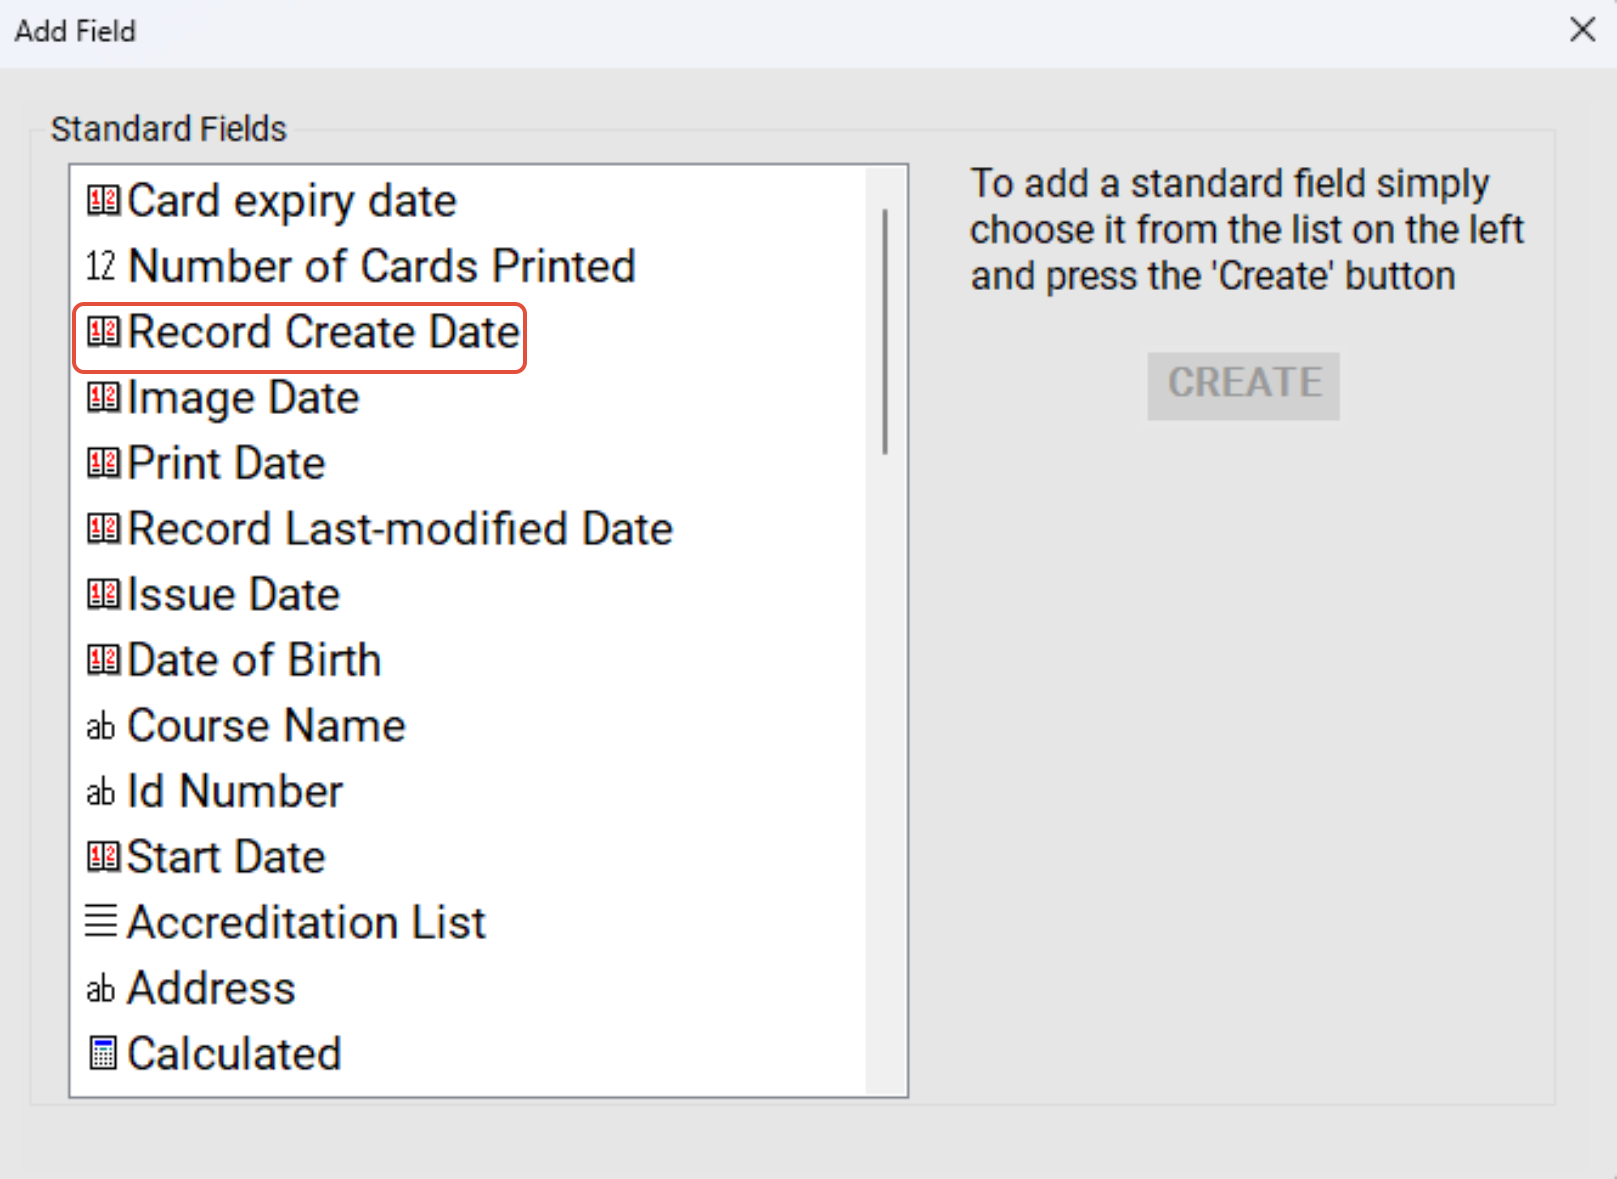
Select 'Record create Date'

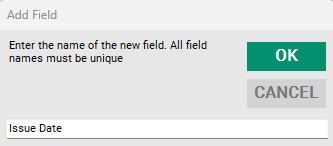
When prompted to select a name, call it 'Issue Date'

Now you have the database field, all you have to do is add the value that will allow it to issue a date automatically. To do this go back to the EasyBadge menu, but this time do the following:
Menu > Modify Database > Modify Field

Select 'Issue date' from the list, and on the right you will see some options, click 'Default' and then click the three dots to the right of it:

In the text editor that pops up, paste in the below:
left(Issue Date,10)
Then click 'Okay', then 'Save' to exit the field modification window.
You're now good to go, any new records created will automatically be populated with the date the record was created on.
Please note, that this will not retroactively apply to records already created, they will need to have their issue dates inputted manually still.
Was this article helpful?
That’s Great!
Thank you for your feedback
Sorry! We couldn't be helpful
Thank you for your feedback
Feedback sent
We appreciate your effort and will try to fix the article